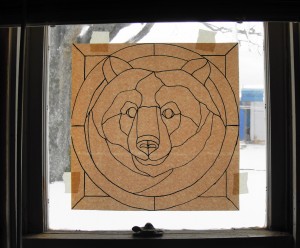
Transferring my stained glass pattern design onto contact paper is my next big step in getting my project made!


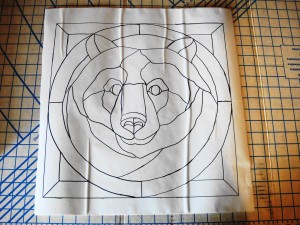
There are numerous methods for transferring a pattern onto glass for cutting. I learned to use white shelving paper that has an adhesive backing that pulls off. I trace the pattern onto the shelving contact paper and then I can cut each piece out and stick it to the glass I will be using for that piece.
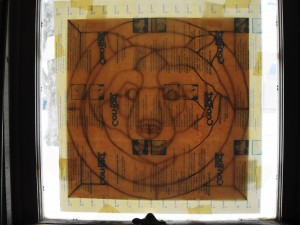
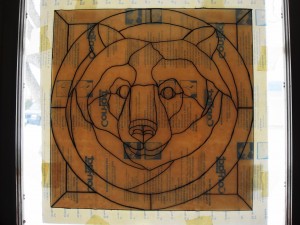
I have my pattern on newsprint so now I am ready to trace it onto the contact paper. As in the previous post I tape the newsprint pattern in a window and tape a larger piece of contact paper over the pattern. Then I trace. Using a light table would be the ideal but most people don’t have that luxury so windows will do the job.
There are a couple of draw backs to using the contact paper. One is that it does tend to get wrinkles in it once it is cut. This makes drawing on it with a marker tricky as you have to be careful going over these wrinkly ridges. And markers will smear if you rub them with your hand while drawing. Neither of these problems is a major one. You can correct lines once you take the paper down and lay it flat. If I am not going to stick the paper to glass right away I try to keep the pattern flat. I am putting these in the back of the newsprint paper tablet as it is flat and heavy.
I will be making a trip in April to pick out stained glass for all four windows. That will be a fun experience and I will be sure to take pictures to post. Till next time!